Heads up! To view this whole video, sign in with your Courses account or enroll in your free 7-day trial. Sign In Enroll
Preview
Start a free Courses trial
to watch this video
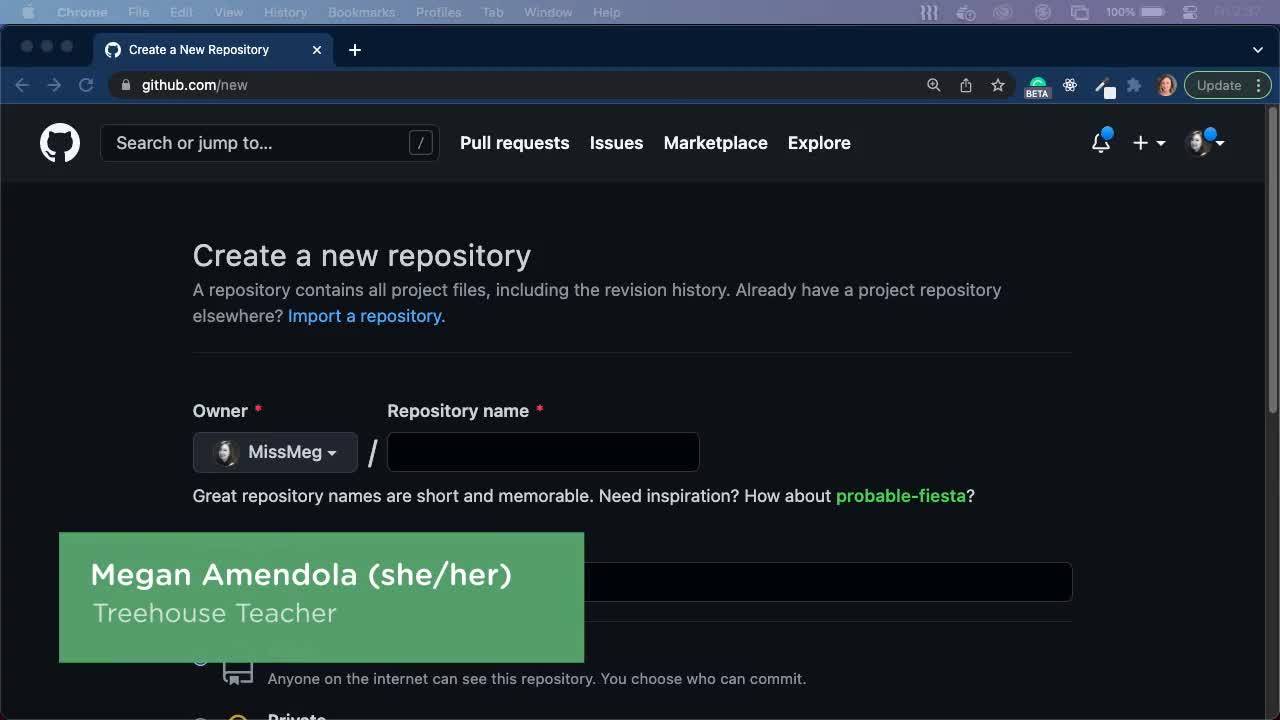
Having a strong design in place makes it much easier to write code. In this video we will add some POJOs (Plain Old Java Objects) to represent our story data in the app.
GitHub Repo
Related Discussions
Have questions about this video? Start a discussion with the community and Treehouse staff.
Sign upRelated Discussions
Have questions about this video? Start a discussion with the community and Treehouse staff.
Sign up
Okay that's enough planning.
0:00
Let's add some code.
0:02
We could plan this thing to death, but
sometimes you just need to dive in and
0:03
learn how things
are actually going to work.
0:06
Let's start with a quick
organizational task.
0:09
So far, we have used one main
package of code in our projects.
0:11
So here we have,
com.teamtreehouse.interactivestory.
0:16
We can have as many packages as we want,
and
0:19
we can use them to keep things organized.
0:21
Let's create some sub-packages
in this main package.
0:23
So if we right-click on it,
we can select New, Package.
0:26
In the first one, let's add ui.
0:30
Hit Enter, or click OK.
0:32
And let's add one more.
0:34
Right-click, New, Package and let's call
this one model to store our model objects.
0:35
Now for the ui, that stands for
user interface, and
0:41
we'll put anything related to
the user interface in there.
0:43
So let's grab MainActivity and
StoryActivity, and pull it into ui.
0:46
Now you're gonna get a little warning
here about moving the specified classes.
0:51
Go ahead and leave all this as
the default and click Refactor.
0:55
There we go.
0:59
Android Studio takes care of updating
all of the references for us, and
1:00
now these new activities
are in this sub-package.
1:02
Cool, so now we can turn our attention
to modeling our story data itself.
1:05
Let's start by modeling an individual
page with a new page class.
1:09
So right-click on model,
then select New, Java Class.
1:12
let's call this Page and we will leave
everything else alone and click OK.
1:17
Now we need to add member variables for
1:22
all of the data we are going
to include in a page.
1:23
We said we would have an image,
some story text and two button choices.
1:26
So let's start with the image.
1:31
We're going to store our images
in our drawable directories, and
1:32
we'll be able to reference them
by their IDs which are ints.
1:35
So let's add a private int and
call it imageId.
1:39
That's a capital I and a lowercase d.
1:44
You'll sometimes see ID typed
out as capital I, capital D.
1:46
That's just a convention.
1:50
I normally go with this one,
which seems to be pretty popular.
1:51
We're making this data private
as another best practice.
1:54
We'll provide methods to set and retrieve
the imageId, but we generally want class
1:57
member variables to be private and
only accessed through methods.
2:00
You may already remember this from
Java courses here at Treehouse.
2:04
This is a good object-oriented principle,
2:07
that helps to hide the details of how
the data is actually stored in the object.
2:09
It's also known as encapsulation.
2:13
The rest of our code will interact
with an interface to this object,
2:15
that provides methods to access the data.
2:18
This gives us some freedom to
change things as we see fit,
2:21
as long as we keep that
interface the same.
2:23
Anyhow, let's move on.
2:26
Next we need the text, which is
simply a string, private String text.
2:27
Actually, wait a minute.
2:32
Didn't we just talk about
string resources and
2:35
how they can be used to
manage strings in one place?
2:37
We also mentioned that we can use
different versions of the strings.xml
2:40
file to provide text for
different languages.
2:43
Let's follow this best practice and
2:46
instead of storing strings as text,
let's create them as string resources.
2:47
So let's change this to an int, and
we'll change the name to textId.
2:52
Okay, so next we will have two
choices to display on each page.
2:57
We will implement our choices
as buttons in the view itself.
3:01
But that detail doesn't
belong here in the model.
3:04
This model doesn't care
if a choice is a button,
3:06
a check box, an image that you
can tap on or anything else.
3:09
What matters is the text that describes
the choice and the result of the choice.
3:13
As always there are a few different
ways we can represent this choice.
3:18
Let's go with another small class.
3:21
So back on the model package,
I'm going to again right-click and
3:24
select New, Java Class and
this time we will call it Choice.
3:27
Click Okay.
3:33
We just said that each choice will consist
of some text to describe the choice and
3:34
a page number destination,
3:38
which in case will be an index
in an array of story pages.
3:40
More on that in a moment.
3:43
Since we can use a string resource again,
both member variables can be ints.
3:45
So let's add a private int textId,
and a private int for nextPage.
3:49
Now we need add choices as member
variables of our page class.
3:58
So going back there, we can add
some new member variables up here.
4:01
Remember that we said for simplicity,
each page will contain two choices.
4:05
In this case,
we could add two Choice variables.
4:09
private Choice, and we'll call it choice1.
4:13
And private Choice called choice2.
4:17
Now we wanna be careful
whenever we use variables
4:19
like this that end with a number.
4:22
This is fine for two items like this,
which is a really simple use case.
4:25
But if we wanted to have more than two
choices, we would probably want to
4:29
use some kind of collection of
choice objects like an array.
4:32
Okay so we have data in
private member variables, but
4:36
we don't have any way to get or set it.
4:39
We need getter and setter methods.
4:42
You may be aware of
this pattern from Java,
4:44
but if not, we add a pair of methods for
each member variable.
4:45
One to get it, and one to set it.
4:49
Now it's pretty boring to type out getter
and setter methods for each variable.
4:52
Imagine if we had 20 member
variables here, instead of four.
4:55
Thankfully, there's a shortcut
available in Android Studio.
4:59
Android Studio has some
built-in code generation,
5:02
that helps us in cases like these.
5:05
Make sure that your cursor is on a new
line here at the end of the class,
5:06
because it's going to add these new
methods at the spot of your cursor.
5:10
So from here, we can click on Code,
and then Generate.
5:13
And then we want to generate getters and
setters.
5:17
Notice there are some different
things we can generate.
5:20
But click on Getter and Setter.
5:22
And then we can select
the member variables,
5:23
which it automatically detects that
we want to create the methods for.
5:26
So I'm going to hold down Shift and
select all four of these.
5:31
And then I click OK.
5:35
And there we go.
5:37
Getters and setters for
each individual member variable.
5:38
So remember that these getters and setters
give us the ability to customize at
5:43
any time, if we want to change the way
this information is retrieved or stored.
5:47
And by providing a way for
other classes to interact with our object,
5:51
we remain in control of
the private parts of its state.
5:54
Before we forget,
let's go to our choice class and
5:58
generate getters and setters here.
6:00
So again, I'm gonna drop my cursor down.
6:02
Select Code, Generate, Getter and
Setter, select both items and click OK.
6:04
This work about Getters and Setters
may seem a little tedious or overkill.
6:10
But it's a good practice to follow,
that can save us trouble and
6:13
headaches down the road.
6:16
Okay, let's take a short break here, and
6:17
then we'll talk about how to add all the
text for our story as string resources.
6:19
After that, we'll create some pages for
out story, that we store in a collection.
6:23
You need to sign up for Treehouse in order to download course files.
Sign upYou need to sign up for Treehouse in order to set up Workspace
Sign up